A headlight fogged up from the inside is a situation that almost any motorist may encounter sooner or later. After washing or rain, a cloudy film appears on the inner side of the diffuser, and sometimes even a noticeable drop of water forms in the lower part of the housing.
It is not necessary to go to a service station immediately and remove all optics. In some cases, the cause can be eliminated independently and without disassembling the headlight. The main thing is to first determine where the moisture inside the housing comes from.
When fogging is considered normal
If we are talking about condensation on the inside, and not water droplets on the outside, the reason lies in the temperature difference. Warm air inside the housing comes into contact with the cold surface of the diffuser, and moisture settles on it.
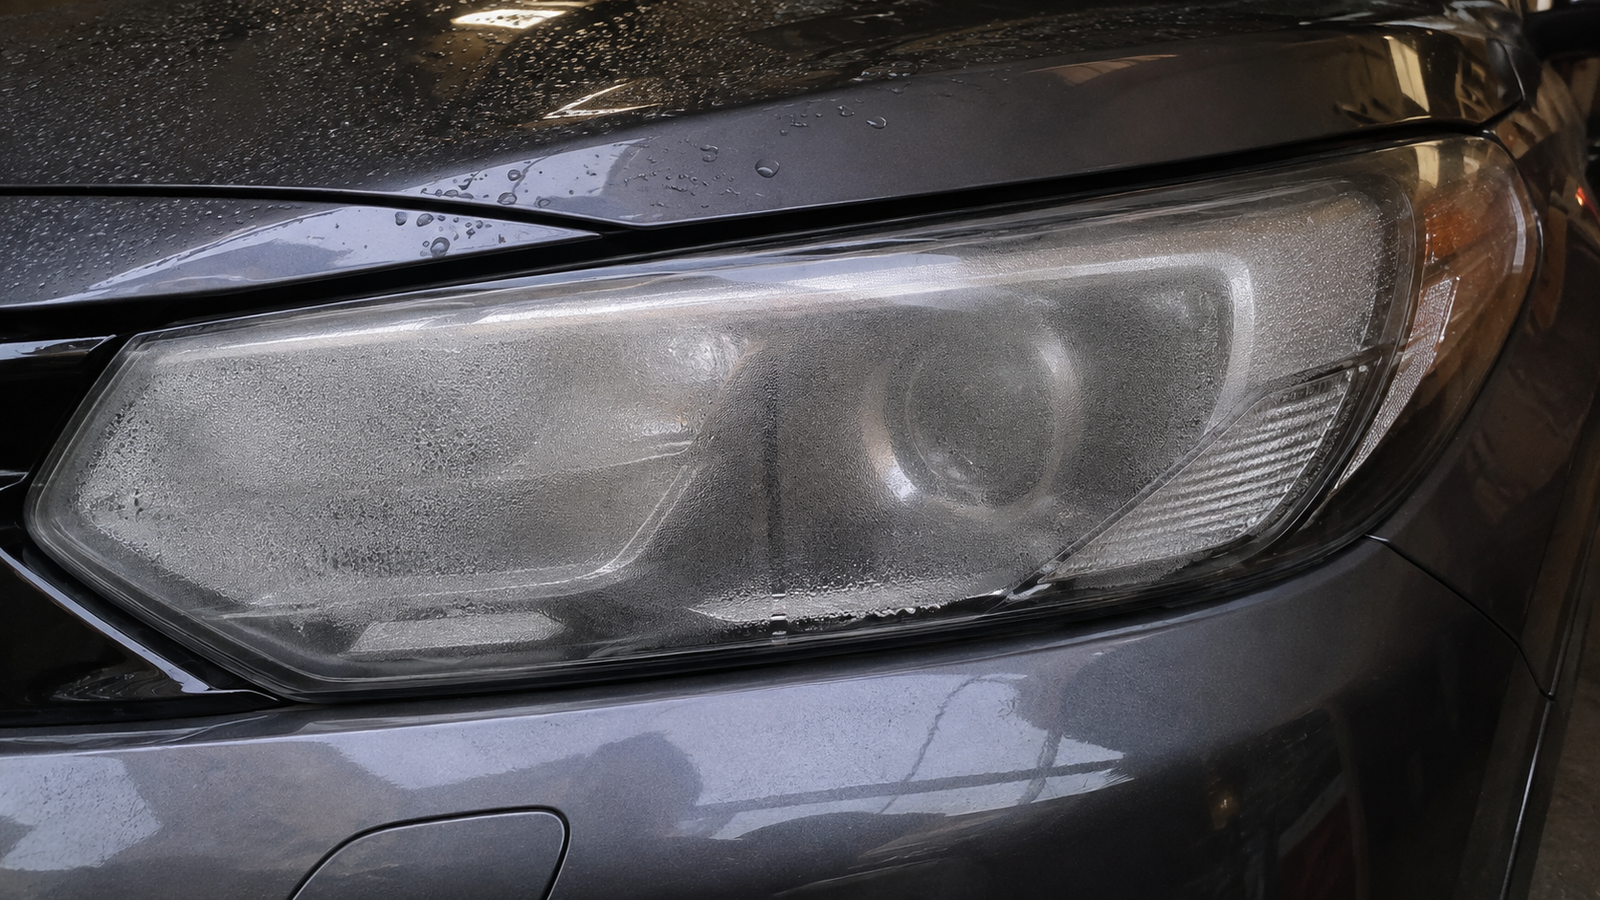
A small amount of water vapor is almost always present inside the headlight. When the lamp is turned on, the air in the housing heats up, and after being turned off, it cools down again. Ventilation channels – breathers – are provided to remove excess moisture. They simultaneously help equalize pressure inside the housing and ensure air exchange.
Therefore, slight fogging after rain or washing does not in itself indicate a malfunction. If it disappears approximately 15–20 minutes after turning on the headlights, there is usually no cause for serious concern.
The situation is completely different if the following remain inside:
- large water droplets;
- a cloudy film that persists for hours;
- a noticeable amount of water at the bottom of the housing.
In this case, it is necessary to look for the cause of the seal failure.
Where does water come from inside the headlight?
Before you start drying the optics, it is important to identify the source of the problem. Otherwise, moisture will soon reappear.
Clogged breather
The ventilation channel is usually a small plastic or rubber tube extending from the rear of the housing. It can be directed downwards or towards the engine compartment.
Over time, the breather can become clogged with road dust, dirt, or poplar fluff. Air exchange is disrupted, and accumulated moisture inside the housing stops being properly removed.
Old or damaged seal
There is a seal between the headlight housing and the diffuser. Over time, the rubber loses elasticity, becomes rigid, and may develop microcracks.
Water can penetrate through the damaged area during rain or washing.
Cracked housing or diffuser
Even a small chip, for example, after a stone impact, can compromise the seal. As a result, moisture gets a direct path inside.
With such damage, it may already be necessary to remove the optics for a full diagnosis, but it still makes sense to check the ventilation channel first.
Leaky connector
Sometimes water penetrates through the electrical connector or the lamp installation location. This area should be checked especially carefully if standard halogen lamps were replaced with an LED module and the connection was improperly insulated.
Too aggressive washing
A high-pressure washer jet directed directly at the headlight housing connection can compromise the seal's integrity. Under normal conditions, it can retain moisture for years, but a powerful stream of water can damage a weak spot.
How to try to fix the problem yourself
1. Check and clean the breather
First, you need to find the ventilation tube on the back wall of the housing. If it is clogged, it must be cleaned.
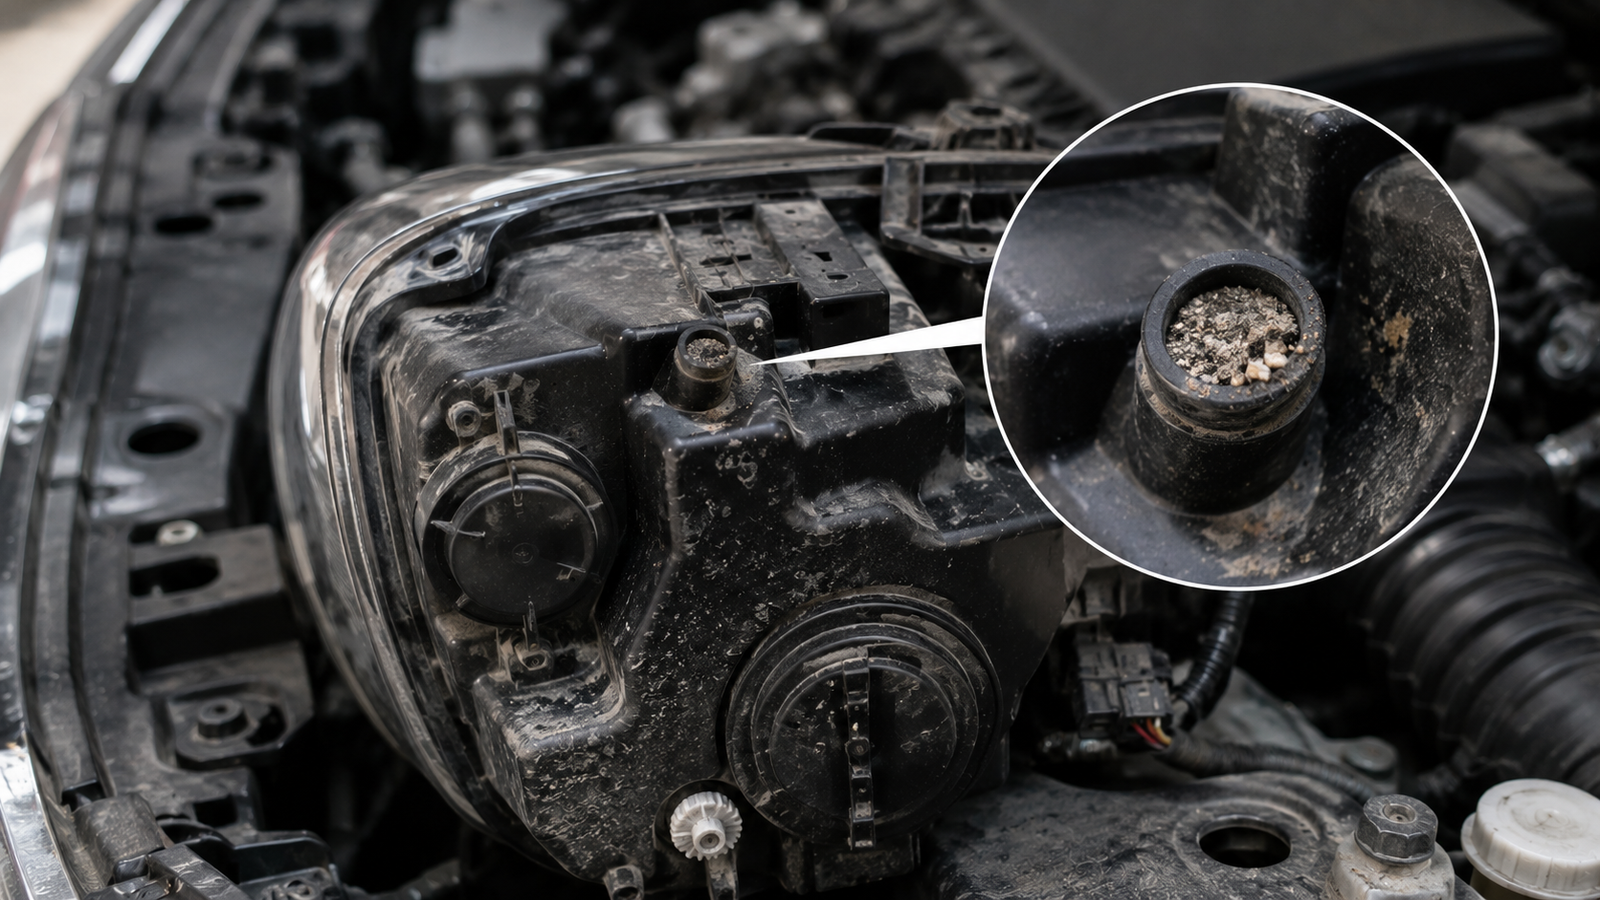
You can use a compressor or a regular bicycle pump for this. In some cases, the blockage can be removed with a thin wire.
After cleaning, it is important to ensure that air actually passes through the channel. When checking, a slight resistance should be felt, but there should be no complete blockage.
2. Dry the housing
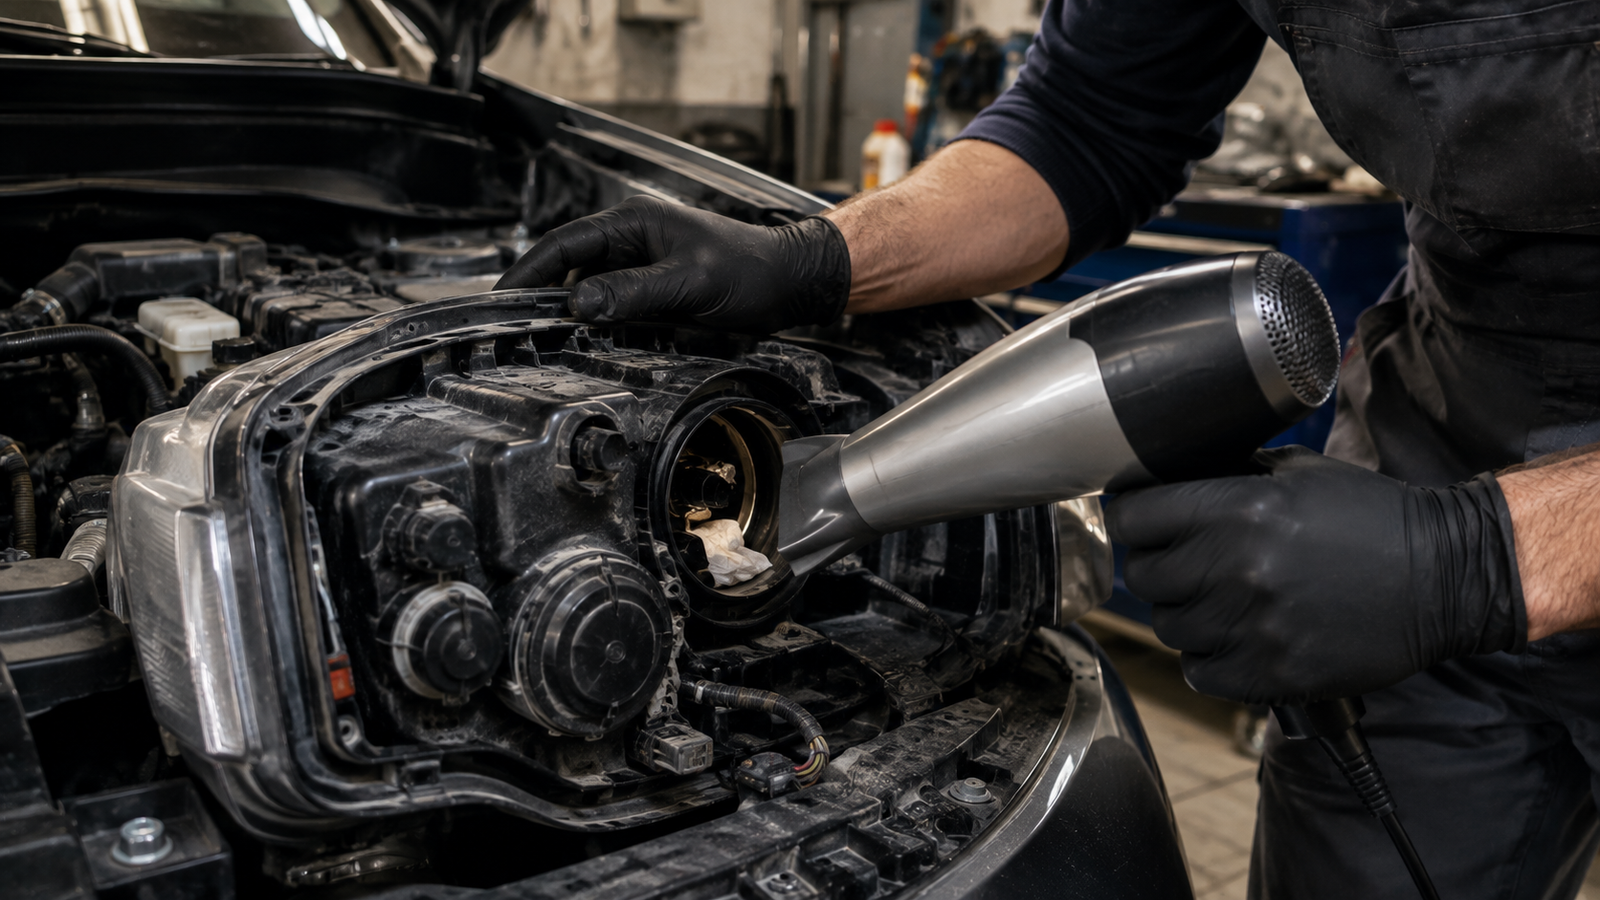
To remove accumulated condensation, warm air can be used. For this, the lamp is removed and air is carefully directed through the standard opening. In some cases, drying is carried out through the ventilation channel.
When using a hairdryer, it is important not to overheat the optics. The temperature should be kept no higher than 60 degrees. Strong heating can damage the plastic reflector, adhesive joints, and in cars with LED modules, also electronic components.
Drying usually takes 20–30 minutes. The position of the hairdryer is periodically changed so that warm air reaches different parts of the housing.
After the procedure, it is advisable to leave the car until the headlight has completely cooled down, so it is more convenient to do the work in the evening. It is not advisable to go out in the rain immediately after heating.
3. Try silica gel
If you don't have a hairdryer or if moisture reappears regularly, you can use silica gel.
Several sachets are placed inside the housing through the lamp opening or ventilation channel. To avoid searching for them inside the headlight later, the sachets can be secured with a strong thread.
It is recommended to leave the silica gel overnight, or even better, for about 24 hours. The material will gradually absorb moisture from the air inside the housing.
This method seems quite simple, but it is sometimes used as a temporary solution in small car repair shops.
4. Check the seal at the joint
It is impossible to completely replace the seal without disassembling the headlight. However, if the problem is related to a minor breach of the seal at the joint between the housing and the diffuser, you can try to restore the joint from the outside.
For this, a thin layer of silicone sealant is applied along the perimeter of the joint. This should be done carefully, without trying to force the compound inside the housing.
After application, the sealant must be allowed to dry for at least 12 hours. During this period, the car should not be exposed to rain or washing.
This solution does not replace a full re-gluing of the headlight, but in some cases, it can restore the seal for a season or two.
5. Inspect the lamp installation location
You should also check the rubber boot around the lamp holder. If it has become stiff, cracked, or no longer fits snugly, it is best to replace it.
A new boot is relatively inexpensive and is selected for a specific lamp type. After installation, it should fit snugly in place.
What to do to prevent the problem from recurring
It is advisable to check the ventilation channels of both headlights at least once a season, and especially carefully before winter. Such a check takes only a few minutes.
There are other measures that will help prevent the reappearance of moisture:
- after high-pressure washing, do not direct the jet directly into the joint of the headlight and the radiator grille;
- when using a high-pressure washer, keep the jet tangential and at a distance of at least half a meter;
- periodically remove the lamps and inspect the sockets from the inside;
- pay attention to the first signs of clouding and a musty smell.
Early detection of the problem allows it to be eliminated before a large amount of water accumulates inside the housing.
However, the headlight must be dried carefully. Do not use a construction hairdryer at maximum power or hold it close to the plastic. Overheating can damage the reflective coating, after which the entire optics will have to be replaced.
Absolutely do not use open flames, lighters, or blowtorches. Plastic elements are easily damaged by high temperatures, and the vapors produced can be toxic.
Also, do not pour a large amount of sealant inside the housing. Excess can block the ventilation channel, and then the problem will effectively reappear – only this time due to impaired ventilation.
If water has already collected inside
When there is not just condensation but a noticeable amount of water in the headlight, it must first be removed from the housing. For this, the headlight is tilted towards the lamp opening so that the water can drain out.
Only after this does it make sense to start drying. Trying to evaporate a large amount of water with just a hairdryer is ineffective.
If, after cleaning the breather and complete drying, condensation returns within a few days or a week, it is most likely that the problem is related to housing damage or a breach of the adhesive joint around the perimeter of the diffuser.
In such a case, temporary methods will no longer solve the problem. The headlight will need to be removed, disassembled, and re-glued, and in case of serious damage, the housing may need to be replaced.
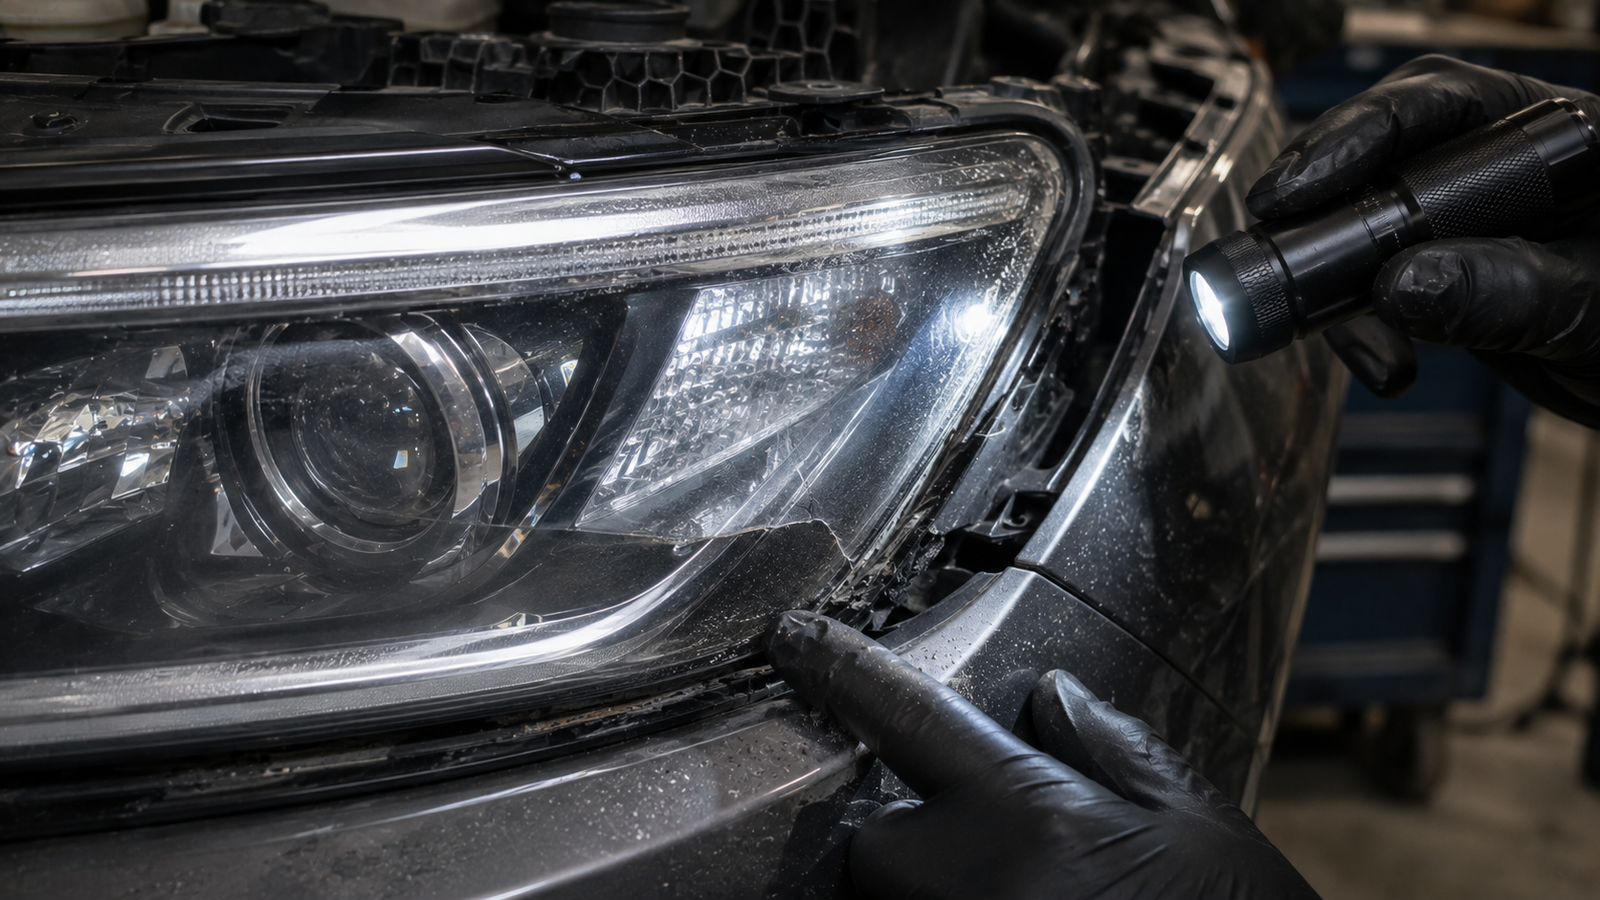
Special attention is required when, along with fogging, the lamps start to flicker or noticeably dim. This may indicate moisture getting onto electrical contacts or the connector. Further operation in this state can lead to a short circuit and failure of the entire headlight unit.
In most cases, slight fogging can indeed be eliminated without disassembling the optics. Cleaning the breather, careful drying through the lamp opening, and localized restoration of the seal can solve the problem for a sufficiently long period.
But if water reappears quickly and in large quantities, diagnosis should not be delayed. A relatively simple boot malfunction may conceal a cracked housing or a separated adhesive seam. Such damage already requires full repair, and sometimes complete headlight replacement.
Read more articles:
- Is it worth buying a car with a "robot"?
- Why Japanese car giants cloned their models
- The secret of the legendary Ikarus' central engine
Comments