The word "endoscope" today sounds almost like "paint thickness gauge" ten years ago - fashionable, pretentious, and attracts buyers. "We do endoscopy!" - someone proudly writes in the description. You nod, looking at the blurry picture on your phone, and reassure yourself: "the engine is checked" - you can buy it.
And after 3,000 km, this very engine starts knocking.
Below are five key mistakes that turn a powerful diagnostic tool into a useless toy, and recommendations on how to avoid them.
Mistake #1. Endoscopy "Hot" - Climbing into a Running Engine
A classic: they sell a car, the engine is still smoking, and the "expert" immediately sticks the camera through the spark plug hole. Why is this the wrong way?
- Thermal expansion. On a hot engine, the clearances are minimal: the pistons and rings are expanded, and what you see will be a "compressed" picture that does not reflect the real condition of a cold engine.
- Oil mist. Warm oil is too thin, flows down the walls and creates glare spots - small scratches and scuffs can simply not be seen.
- Risk of damaging the device. Budget endoscopes are not designed for 90-100 °C: the camera may "go blind" or burn out completely.
How to do it right? Wait. The engine must cool down to 40-50 °C minimum; optimally - to room temperature. Yes, it takes a long time. Yes, the seller is nervous. But only in this way you will get an informative image.
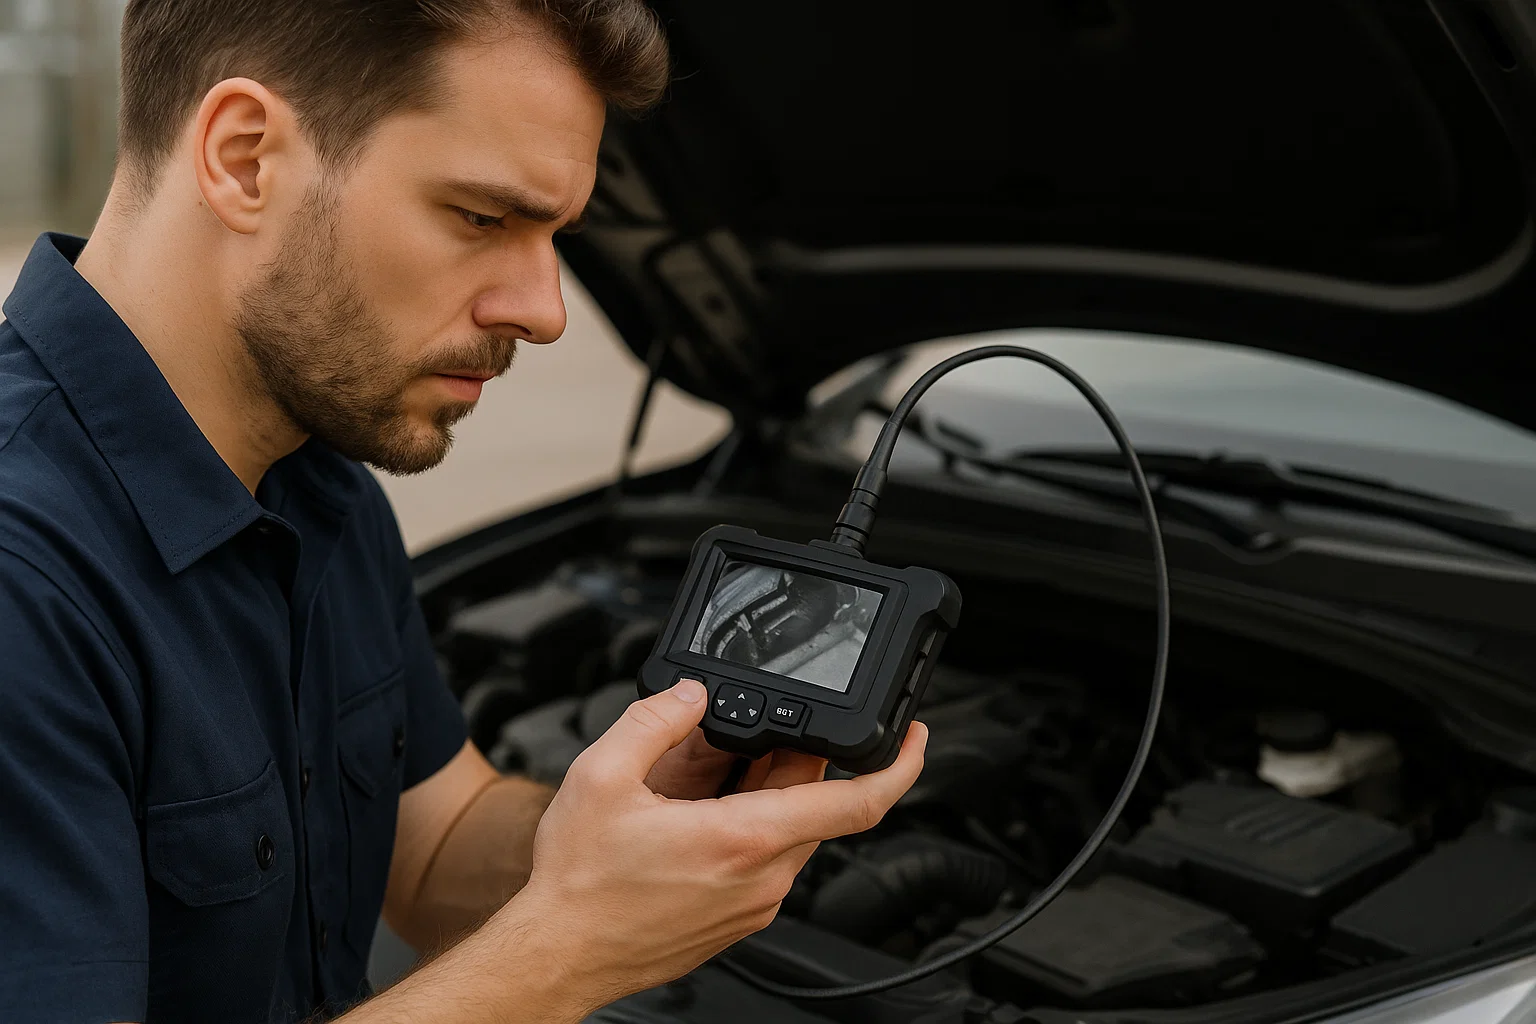
Mistake #2. "Fishing Rod" Instead of a Scalpel - Using a Cheap Endoscope
Marketplaces are full of "flexible cameras for smartphones" for a couple of thousand rubles - this is exactly what most "helpers" use. What's the catch?
- No mobility. A cheap probe only looks straight - you will not be able to turn the head, bypass the cylinder wall, or view the valves.
- Poor image quality. Low resolution, poor focus and weak illumination - instead of a clear image, you will get dark shadows and guesses.
- Fragility. Such a wire is easy to break; there is a risk of leaving a piece of the probe in the cylinder - a "fun" quest to extract it is guaranteed.
- Small focusing distance. Usually from ~2 cm - this is too much for working inside the cylinder.
How to do it right. A professional video endoscope is an expensive thing with a controlled head (articulation), joystick, adjustable illumination and high resolution. The difference in the picture is like between an old "Nokia" and a new "iPhone".
Mistake #3. Inspection Without Preparation - "Forgot to Prepare the Patient"
Simply unscrewing the spark plug and sticking the camera in is the way of an amateur. The correct procedure is a whole ritual.
Typical "jambs":
- Did not blow out the spark plug well. Sand and dirt accumulate around the spark plugs; unscrewed the spark plug - and all the abrasive flies into the cylinder. The result is approaching overhaul. First, there must be a purge with compressed air!
- They don't look at the spark plug. The spark plug itself is a small diagnostic card: black - rich mixture, white - lean, oily soot on the thread - problems with valve stem seals, etc.
- They don't put the piston in BDC. To inspect the entire working surface of the cylinder, the piston must be at bottom dead center; in the upper position, you will only see the piston crown.
Mistake #4. Incorrect Interpretation of the Picture - "I See a Figure"
The most common and most dangerous mistake is the incorrect interpretation of what you see. Seeing a "stripe" does not mean putting a stamp "overhaul".
- False scuffs. Horizontal or vertical oil tracks, traces of honing - a beginner easily mistakes this for a scuff. A real scuff has volume, torn edges and "plays" with light.
- "Clean" spot on the piston. If the piston is washed to a shine - this may be a sign of antifreeze entering the cylinder (the cylinder head gasket is broken), and not an "ideal" condition. Antifreeze washes away carbon deposits.
- Instead of honing - "polishing". A mirror shine in friction areas indicates the initial stage of wear: the engine does not knock yet, but increased oil consumption is already observed.
Mistake #5. Diagnose from One Picture - "The Endoscope Said - The Engine is Alive"
And, finally, the classic: a perfect picture from the endoscope = "the engine is OK." No, not equal.
Endoscopy shows only the geometry of the cylinder-piston group. It will not show:
- compression (the rings may be intact, but "worn out");
- the condition of the connecting rod and main bearings;
- oil pressure and oil pump operation;
- the condition of the timing chain, phase shifters, turbine, etc.
How to do it right. Endoscopy is just one stage of a comprehensive diagnosis. It is necessarily followed by: compression measurement, computer diagnostics, listening to the engine with a stethoscope, exhaust analysis and other tests.
Short Checklist: What to Do When Endoscoping an Engine
- Cooled engine (40-50 °C or lower).
- Prepared spark plug well: purging and cleanliness.
- Piston in BDC for a full view of the wall.
- Professional endoscope with articulation and good illumination.
- Subsequent comprehensive diagnostics (compression, stethoscope, ECU scan).
Conclusion. An endoscope is a powerful tool, but in the hands of an amateur, it turns into an expensive selfie stick for the engine. A beautiful picture on the phone does not guarantee that the unit is "alive". Real diagnostics is a multi-layered process that requires experience and a set of professional equipment.
Read more related materials:
- We understand what the "charged" Lada Vesta Sportline offers
- Tank 500 on the secondary market: what almost new SUVs hide
- Five Lamborghini concepts that did not make it to the assembly line